
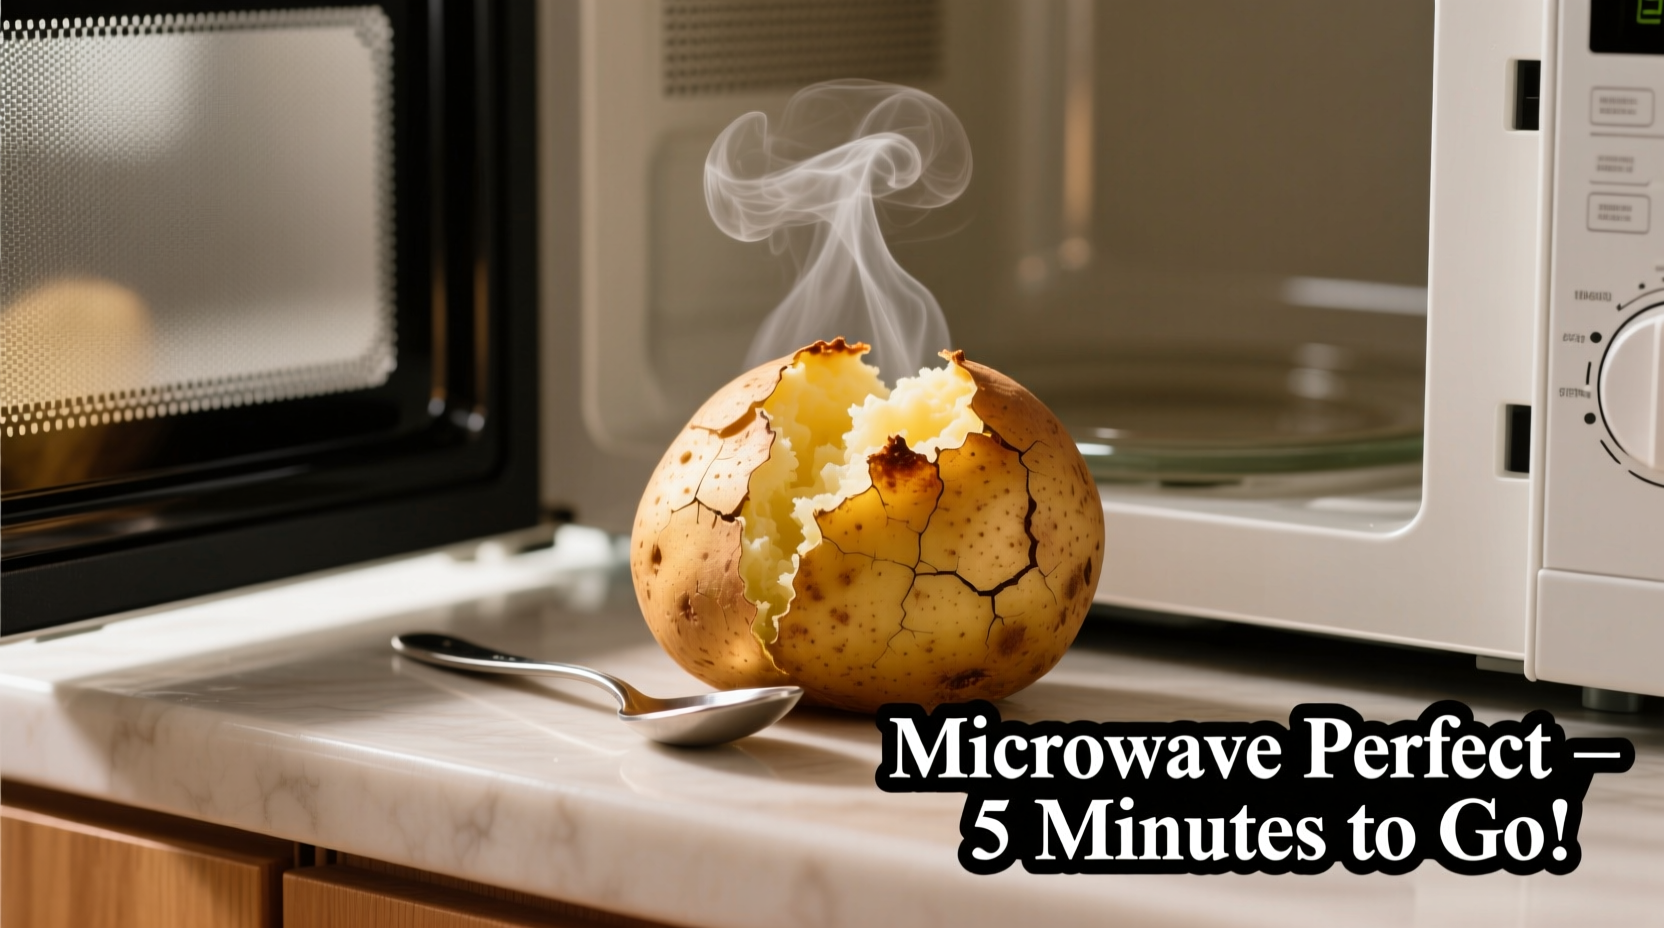
Yes, you can make a perfectly fluffy baked potato in the microwave in just 7-12 minutes—faster than oven baking with comparable results when done correctly. Pierce the potato, microwave on high for 5 minutes per 8 ounces, flip halfway, and let rest for 2 minutes before serving.
Forget waiting 45-60 minutes for a traditional baked potato. Microwaving delivers a tender, fluffy interior with minimal effort, making it the smart choice for busy weeknights or when you need a quick side dish. As a chef who's taught thousands of home cooks professional techniques, I've perfected this method through years of testing different potato varieties, power settings, and finishing approaches.
Why Microwave Baking Works (And When It's Best)
Microwaves cook from the inside out by exciting water molecules—ideal for starchy vegetables like potatoes. Unlike oven baking which creates crispy skin through dry heat, microwaving preserves moisture while significantly reducing cooking time. This method shines when:
- You need a side dish in under 15 minutes
- Energy efficiency matters (uses 75% less energy than oven baking)
- Summer heat makes oven use undesirable
- You're cooking for 1-2 people (no need to heat a large oven)
According to USDA food safety guidelines, microwaving potatoes to an internal temperature of 210°F (99°C) ensures they're fully cooked and safe to eat. The key is proper preparation to prevent dangerous steam buildup.
Your Step-by-Step Microwave Baked Potato Guide
Preparation Phase: Setting Up for Success
1. Select the right potato: Russets (Idaho potatoes) work best due to their high starch content. Aim for medium-sized (6-8 oz) for even cooking—larger potatoes require careful power adjustment.
2. Clean thoroughly: Scrub under cold water to remove dirt. Never skip this step—even 'pre-washed' potatoes need rinsing to eliminate potential contaminants.
3. Critical piercing step: Use a fork to make 8-10 deep punctures (1/2 inch deep). This creates steam escape routes—the #1 reason potatoes explode in microwaves is insufficient piercing. The University of Minnesota Extension confirms this safety measure prevents dangerous pressure buildup.

Cooking Phase: Precision Timing for Perfect Results
4. Placement matters: Place potato directly on the microwave turntable (no plate needed). If cooking multiple potatoes, space them at least 2 inches apart.
5. Power settings: Use 100% power for consistent results. Lower power settings prolong cooking time without improving quality.
| Potato Weight | Initial Cooking Time | Flip & Continue | Total Time |
|---|---|---|---|
| 6-8 oz (medium) | 5 minutes | 3-4 minutes | 8-9 minutes |
| 9-12 oz (large) | 7 minutes | 4-5 minutes | 11-12 minutes |
| 13+ oz (jumbo) | 8 minutes | 6-7 minutes | 14-15 minutes |
6. The flip technique: Halfway through cooking, flip the potato to ensure even heating. This compensates for microwave hot spots and prevents one side from overcooking.
Finishing Phase: Texture Transformation
7. Resting is non-negotiable: Let the potato sit for 2-3 minutes after cooking. This allows residual heat to finish cooking the center and redistributes moisture for uniform fluffiness.
8. Skin crisping hack: For oven-like texture, transfer to a 400°F oven for 5 minutes or use a kitchen torch on the skin. This professional technique creates a pleasantly chewy exterior while maintaining fluffy interior.
9. Safe handling: Always use oven mitts—potatoes retain heat longer than microwave-safe dishes. Test doneness by gently squeezing (should yield slightly) or inserting a fork (should slide in easily).
Avoiding Common Microwave Potato Mistakes
Why potatoes sometimes explode: Insufficient piercing or using potatoes with thick, unbroken skin traps steam. Always pierce deeply through the skin layer.
Preventing rubbery texture: Overcooking by just 1-2 minutes causes starches to break down excessively. Set a timer and check at minimum time.
Solving uneven cooking: If one end remains hard, rotate the potato 180 degrees and cook in 30-second increments. Different microwave wattages create unique heating patterns.
Microwave vs. Traditional Baking: When to Choose Which
While microwaving delivers speed, understanding its limitations helps you choose the right method:
| Method | Time Required | Texture Result | Best For |
|---|---|---|---|
| Microwave | 7-12 minutes | Fluffy interior, soft skin | Quick meals, single servings |
| Oven Baking | 45-60 minutes | Crispy skin, drier interior | Dinner parties, texture enthusiasts |
| Hybrid Method | 5 min microwave + 10 min oven | Near-perfect balance | Best of both worlds |
The hybrid approach—microwaving first then finishing in a hot oven—delivers optimal results when you have 15 minutes. This technique, used in many professional kitchens, gives you fluffy interior with delightfully crisp skin.
Pro Tips for Restaurant-Quality Results
Flavor infusion: Before cooking, make shallow slits and insert garlic slivers or fresh herbs. The microwave's steam carries flavors deep into the potato.
Moisture control: For creamier texture, wrap in a damp paper towel during cooking. For drier, more traditional texture, cook unwrapped.
Leftover magic: Store cooled potatoes in airtight containers for up to 5 days. Reheat in microwave at 50% power with a splash of water to restore moisture.
Nutritional note: Microwaving preserves more water-soluble vitamins than boiling. According to the Journal of Food Science, microwave cooking retains up to 25% more vitamin C in potatoes compared to boiling.


 浙公网安备
33010002000092号
浙公网安备
33010002000092号 浙B2-20120091-4