
Struggling with dry chilies? Here's exactly how to use them properly: Toast at 140°C for 90 seconds, rehydrate in 60°C liquid for 12 minutes, and remove only the white placenta (not seeds) for balanced heat. These science-backed methods transform basic ingredients into complex restaurant-quality dishes using simple home kitchen tools.
Table of Contents
- Quick Start Guide: Dry Chili Basics
- Why Dry Chilies Taste Better Than Fresh
- 3 Simple Rehydration Methods (Step-by-Step)
- Perfect Toasting Technique: Avoid Bitterness
- Heat Control Secrets: Mild vs Hot Results
- Storage Tips: Keep Chilies Fresh for 18+ Months
- Chili Comparison Chart: Heat & Flavor Guide
- 5 Most Common Dry Chili Mistakes to Avoid
- Frequently Asked Questions
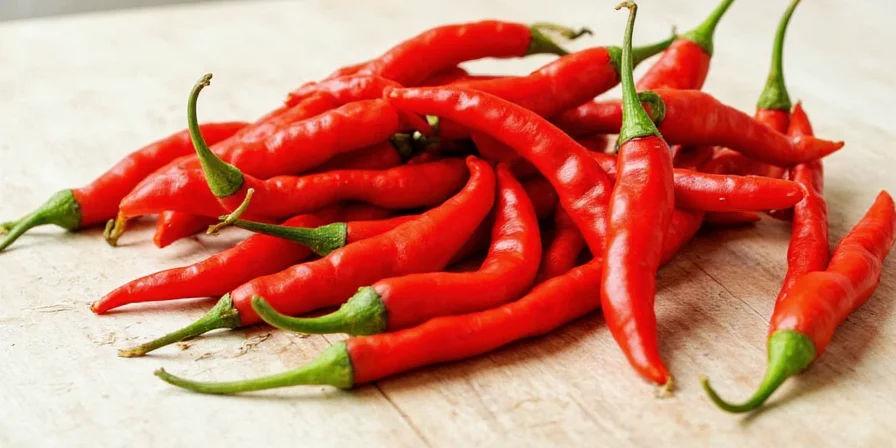
Quick Start Guide: Dry Chili Basics
Dry chilies aren't just dehydrated peppers—they're flavor concentrators. When properly handled, they deliver richer, more complex flavors than fresh chilies. Here's what every home cook needs to know:
- Rehydrate properly: Soak in hot (not boiling) liquid for 10-15 minutes
- Toasting is essential: 90 seconds in dry pan unlocks deeper flavors
- Heat control tip: Remove only the white ribs (placenta), not seeds
- Storage secret: Keep in airtight container away from light and moisture
- Flavor boost: Toast whole before grinding for maximum aroma
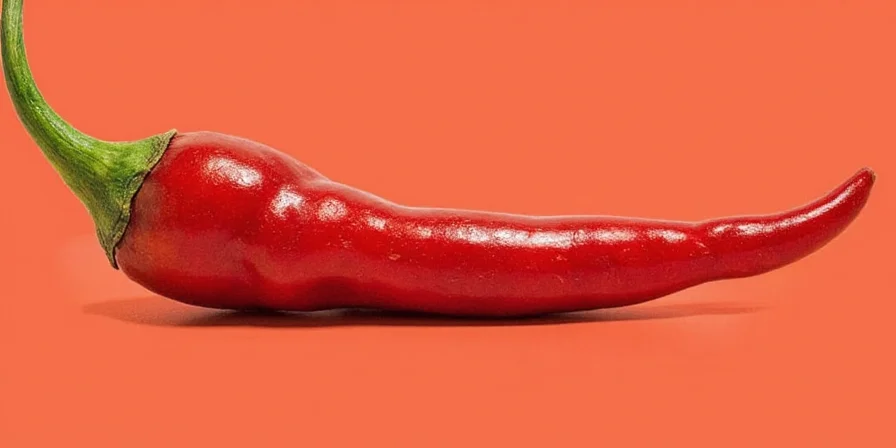
Why Dry Chilies Taste Better Than Fresh
Fresh chilies deliver single-note heat, but properly prepared dry chilies offer complex flavor layers impossible with fresh peppers. The drying process concentrates sugars and creates new compounds through natural chemical reactions:
- Enhanced sweetness: Natural sugars caramelize during drying
- Balanced heat: Capsaicin becomes more soluble in oils for even distribution
- New flavor notes: Develops raisin-like, smoky, or tobacco undertones
- Longer shelf life: Properly stored dry chilies maintain flavor for 18+ months
3 Simple Rehydration Methods (Step-by-Step)
Proper rehydration makes the difference between bland and flavorful dishes. Try these tested methods:
Hot Water Method (Fastest)
- Place dry chilies in bowl
- Cover with 60°C (140°F) water (not boiling)
- Weight down with small plate to keep submerged
- Soak 10-12 minutes until pliable but not mushy
- Remove stems and seeds before using
Broth or Wine Method (Most Flavorful)
- Use flavorful liquid like broth, tomato juice, or red wine
- Maintain liquid at 60°C (140°F)
- Add pinch of salt to help rehydration
- Soak 12-15 minutes
- Blend liquid and chilies together for sauces
Oven Method (For Large Batches)
- Place chilies on baking sheet
- Add 2 tablespoons hot liquid per 10 chilies
- Cover tightly with foil
- Bake at 150°C (300°F) for 8-10 minutes
- Check for flexibility before removing
Perfect Toasting Technique: Avoid Bitterness
Toasting dry chilies is simple but requires precision. Follow these steps for maximum flavor without bitterness:
- Use a dry skillet (no oil)
- Heat on medium (not high) for 1 minute to warm pan
- Add chilies in single layer
- Toast 45-90 seconds per side
- Remove when they release aroma and darken slightly
- Immediately transfer to bowl to stop cooking
Warning: Exceeding 160°C creates bitter compounds. If chilies smoke or turn black, they're ruined. Properly toasted chilies should smell fragrant and nutty—not burnt.
Heat Control Secrets: Mild vs Hot Results
You have precise control over heat level with dry chilies:
- For milder flavor: Remove only the white placenta (where 80% of heat lives), keep seeds
- For maximum heat: Keep all parts including placenta and seeds
- Balance tip: Mix mild (Ancho) and hot (Arbol) chilies in 3:1 ratio
- Heat activation: Heat intensifies when chilies are blended
Contrary to popular belief, seeds contain flavor-neutral fats—not heat compounds. Removing them wastes texture and flavor while doing little to reduce heat.
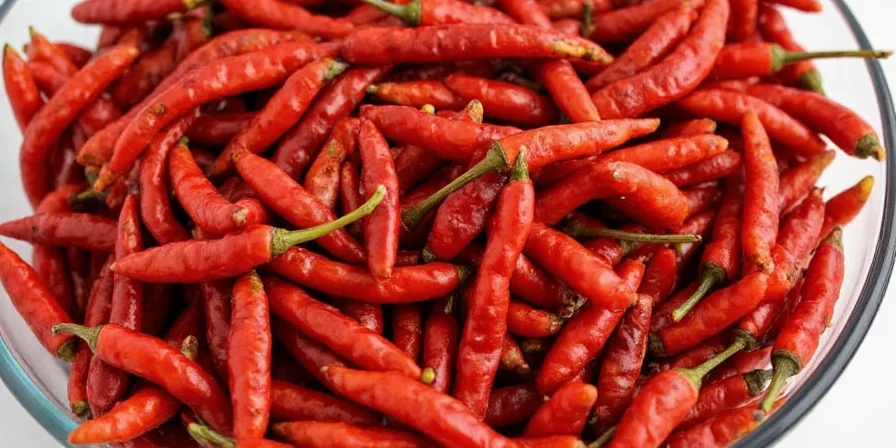
Storage Tips: Keep Chilies Fresh for 18+ Months
Proper storage maintains flavor and potency:
- Container: Use airtight glass or metal (not plastic)
- Location: Cool, dark place away from heat sources
- Humidity control: Add silica packets to absorb moisture
- Freezing: Best for long-term storage (up to 3 years)
- Freshness test: Bend chili—if it snaps cleanly, it's fresh
Avoid refrigeration as temperature fluctuations cause moisture buildup. Check stored chilies every 3 months for musty odors indicating spoilage.
Chili Comparison Chart: Heat & Flavor Guide
| Chili Type | Heat Level | Flavor Profile | Best Uses |
|---|---|---|---|
| Ancho | Mild (1,000-2,000 SHU) | Fruity, raisin-like, subtle sweetness | Mole sauces, braises, stews |
| Guajillo | Mild-Medium (2,500-5,000 SHU) | Tangy, berry-like, tea notes | Adobo sauces, marinades, salsas |
| Pasilla | Mild (1,000-2,500 SHU) | Prune, licorice, earthy | Bean dishes, dark sauces, moles |
| Arbol | Hot (15,000-60,000 SHU) | Sharp, clean heat, nutty | Finishing oils, hot sauces, salsas |
| Chipotle | Medium (5,000-10,000 SHU) | Smoky, earthy, bacon-like | BBQ, chili, bean dishes, rubs |
| Cascabel | Mild-Medium (1,000-3,000 SHU) | Nutty, citrusy, bell pepper | Sauces, moles, roasted vegetable dishes |
5 Most Common Dry Chili Mistakes to Avoid
Even experienced cooks make these errors that ruin flavor:
- Boiling during rehydration: Destroys delicate flavor compounds—use 60°C (140°F) liquid
- Over-toasting: Creates bitter compounds—never exceed 160°C (320°F)
- Removing seeds for heat control: Wastes texture—target white placenta instead
- Storing in plastic bags: Absorbs odors and retains moisture—use glass containers
- Using expired chilies: Loses 30% heat after 18 months—test freshness with snap test
When to Use Which Dry Chili
Match chilies to your dish for perfect results:
- For rich sauces: Ancho + Guajillo (complex sweetness)
- For smoky dishes: Chipotle (intense smoke flavor)
- For balanced heat: Arbol + Ancho (3:1 ratio)
- For earthy notes: Pasilla (deep, wine-like flavor)
- For bright sauces: Cascabel (citrusy undertones)
Mastering dry chilies transforms ordinary meals into extraordinary dishes. Start with one technique—proper toasting or rehydration—and build from there. Remember, the best chili technique is the one you'll actually use consistently in your home kitchen.
Frequently Asked Questions
How do I know if my dry chilies are still good to use?
Perform the snap test: Bend a chili sharply. Fresh specimens should fracture cleanly with an audible snap. Flexible or rubbery chilies have absorbed moisture and lost flavor. Also check for musty odors which indicate spoilage.
Can I substitute fresh chilies for dry in recipes?
Yes, but use a 3:1 ratio (fresh to dry by weight). Fresh chilies contain 90% water versus 10% in dry varieties, so you'll need more fresh chili for equivalent flavor. Adjust liquid content in recipes to compensate for added moisture from fresh chilies.
Why do my chili oils separate after making them?
Chili oils separate when not properly emulsified. Add 0.3% lecithin during cooling or shake vigorously before use. Store at consistent 18-22°C (64-72°F)—temperature changes cause separation. For immediate use, warm separated oil slightly and whisk vigorously.
Do dry chilies get hotter over time?
No—they actually lose heat potency. Capsaicin degrades about 0.8% per month at room temperature. After 18 months, expect 30% less heat even with proper storage. Store below 15°C (59°F) in oxygen-barrier containers to slow degradation.
What's the easiest way to remove chili seeds?
Cut chili lengthwise, then use the tip of a small spoon to gently scrape out seeds and ribs. For multiple chilies, place cut-side down on cutting board and press with spoon to push seeds out. Remember: seeds contain minimal heat—focus on removing the white placenta for heat control.


 浙公网安备
33010002000092号
浙公网安备
33010002000092号 浙B2-20120091-4