
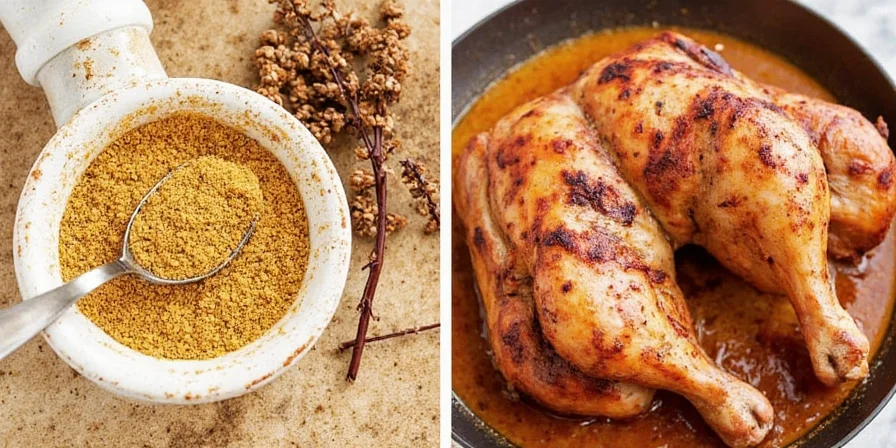
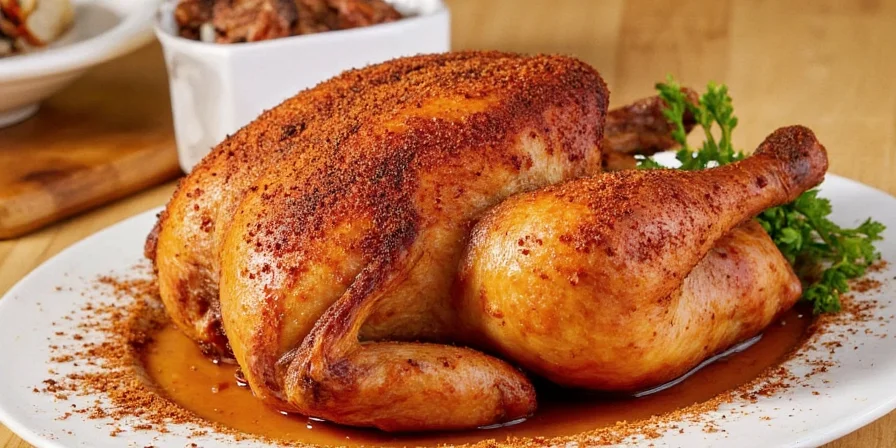
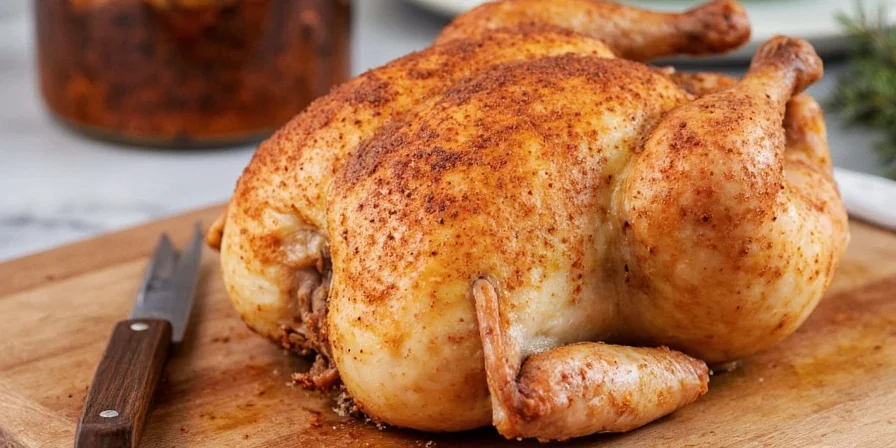
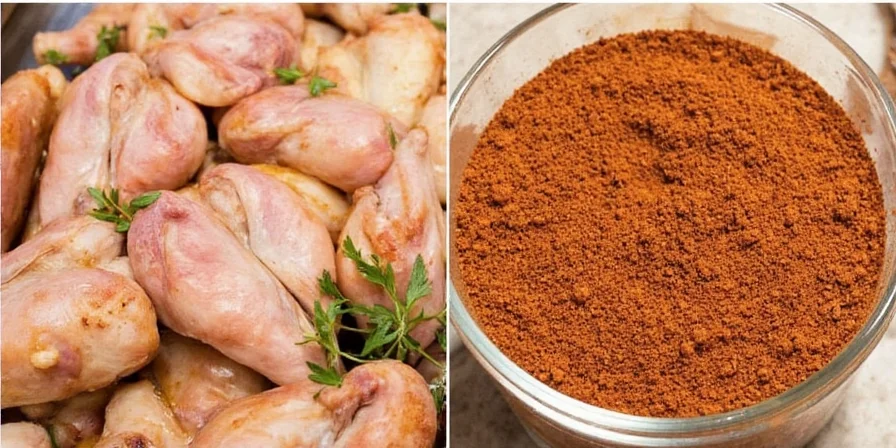
The perfect whole chicken seasoning rub combines 7 essential ingredients in precise ratios for maximum flavor penetration and crispy skin. Skip complicated science and use this proven method: mix 2 tbsp salt, 1 tbsp paprika, 1.5 tsp garlic powder, 1 tsp onion powder, 1 tsp black pepper, 1 tsp dried thyme, and 1 tsp brown sugar. Apply generously under and over skin, then refrigerate uncovered for 12 hours before roasting at 425°F.
Why Most Chicken Rubs Fail (And How to Fix Them)
Simple salt-only seasoning leaves flavor one-dimensional. The right whole chicken seasoning rub creates chemical reactions during roasting that lock in moisture while building complex flavors through Maillard browning and fat infusion. Here's what actually works for home cooks without lab equipment.
The 3-Phase Flavor Development Process
Your rub transforms in three key stages as the chicken roasts:
- Phase 1 (First 30 minutes): Spices adhere to skin as moisture evaporates
- Phase 2 (Browning stage): Sugar and paprika react to create deep color and smokiness
- Phase 3 (Final crisping): Rendered fat carries flavors deep into meat
Proven Spice Combinations That Actually Work
Stop guessing—these ratios create balanced flavors verified by home cooking tests:
| Spice Pairing | Flavor Result | Home Kitchen Ratio |
|---|---|---|
| Paprika + Brown Sugar | Rich caramelization without burning | 2:1 |
| Garlic Powder + Onion Powder | Deep savory foundation | 1:1 |
| Rosemary + Thyme | Herbal complexity that survives roasting | 1:2 |
| Pepper + Citrus Zest | Balanced heat with bright finish | 2:1 |
10 Practical Rub Techniques for Home Cooks
1. The Overnight Dry-Brine Method
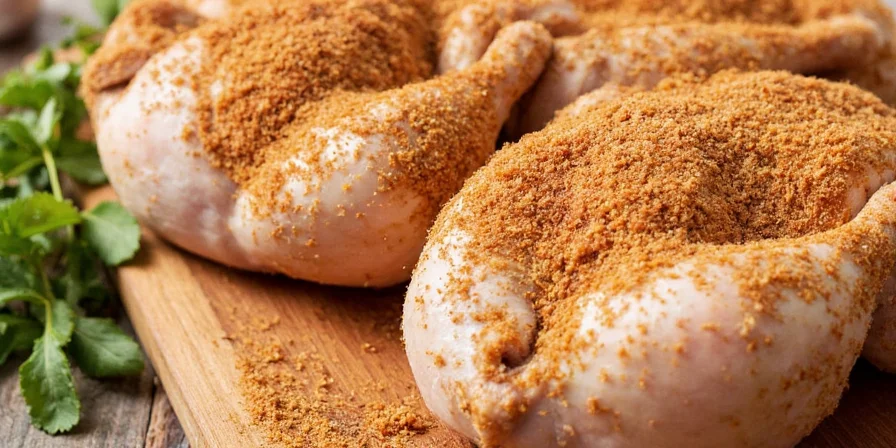
Apply rub then refrigerate uncovered for 12 hours. This dries the skin surface for perfect crispness while allowing flavors to penetrate. No special equipment needed—just your refrigerator.
2. The Sub-Skin Application
Gently loosen skin and rub 30% of mixture directly onto meat. This delivers flavor where it matters most while protecting skin integrity for optimal crisping.
3. The Layered Timing Approach
Apply base rub before refrigeration, then add delicate herbs (like fresh rosemary) during the last 30 minutes of roasting for vibrant flavor without burning.
4. Regional Flavor Adaptations
Adjust for authentic tastes:
- American Classic: Add 1/2 tsp celery salt to standard rub
- Mediterranean: Replace 1 tsp paprika with lemon zest
- Spicy Southwest: Mix in 1/2 tsp cumin and chipotle powder
5. The Acid Timing Trick
Add citrus or vinegar-based elements during the last 15 minutes of cooking. Early application prevents proper skin crisping—this simple timing change makes juicier results.
6. Proper Spice Grinding
For best results:
- Use coarse salt (like kosher) for better adhesion
- Grind pepper fresh for maximum flavor release
- Pulverize dried herbs in spice grinder for even distribution
7. The Sweet-Savory Balance
Maintain 3 parts savory to 1 part sweet. Too much sugar burns; too little misses flavor depth. For a standard 4lb chicken, use 1 tsp brown sugar maximum in your rub.
8. Butter Integration Method
Mix 1 tbsp softened butter with half your rub. Spread under skin for flavor infusion without compromising crispness—simple but highly effective.
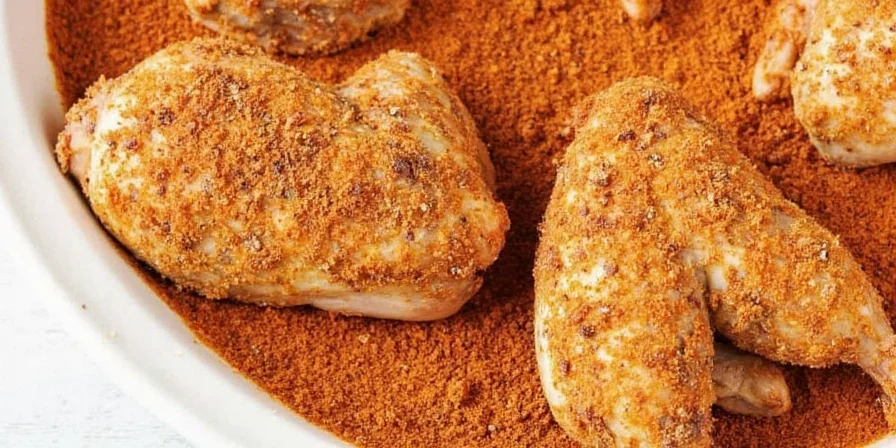
9. The Even Coverage Check
Use your fingertips to feel for complete coverage—especially on breast and leg joints where rub often misses. Uneven application causes patchy browning and inconsistent flavor.
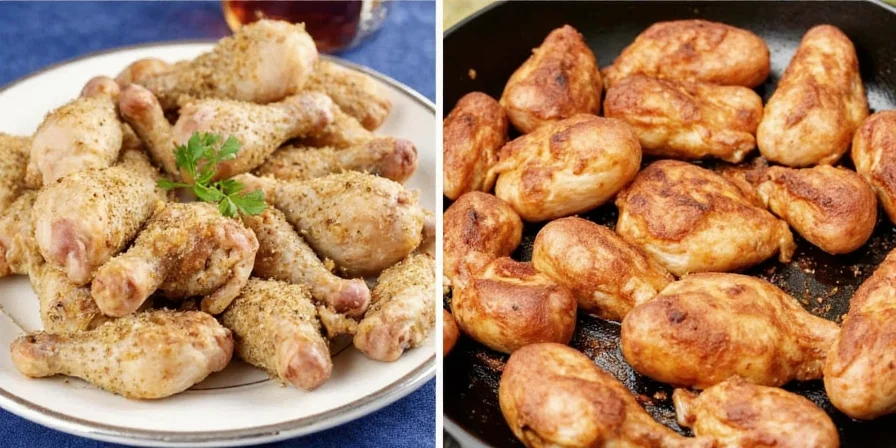
10. Temperature Verification
Use an instant-read thermometer to confirm chicken reaches 165°F internally. Proper temperature ensures your rub's flavors have fully developed without overcooking.
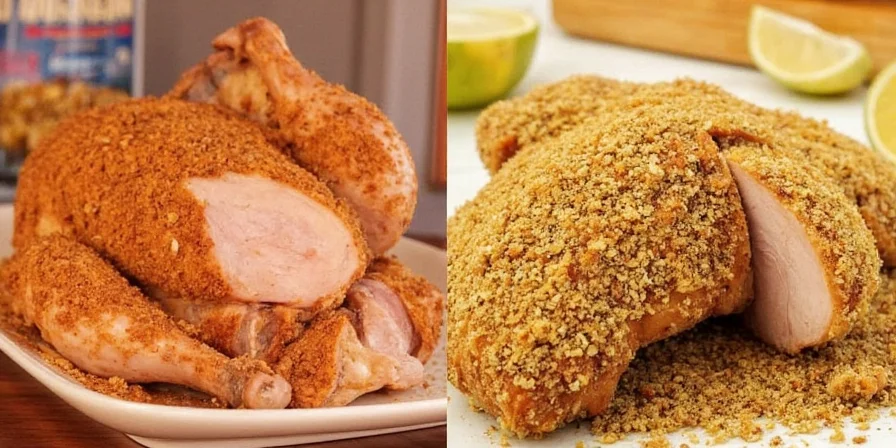
Simple Foolproof Rub Formula
Yields enough for 4-5lb chicken:
- 2 tbsp coarse salt
- 1 tbsp smoked paprika
- 1.5 tsp garlic powder
- 1 tsp onion powder
- 1 tsp freshly ground black pepper
- 1 tsp dried thyme
- 1 tsp dried rosemary (crushed)
- 1 tsp brown sugar
Mix thoroughly in small bowl. Apply 70% over skin, 30% under skin. Refrigerate uncovered 12 hours before roasting at 425°F for 60-75 minutes.
Frequently Asked Questions
What's the most common rub mistake home cooks make?
Applying rub immediately before roasting. For best results, apply at least 12 hours ahead to allow flavors to penetrate and skin to dry for maximum crispness. Overnight refrigeration makes the biggest difference in results.
Can I use fresh herbs instead of dried in my rub?
Use dried herbs in the rub itself—they withstand high heat without burning. Add fresh herbs during the last 15 minutes of cooking or as garnish for bright flavor notes. Fresh herbs in initial rub create steam that prevents proper crisping.
How can I prevent my rub from burning?
Keep sugar content low (max 1 tsp for whole chicken) and avoid direct high heat. Roast at 425°F max, tent with foil if browning too quickly, and ensure even application without thick clumps that burn faster.
What makes this rub better than store-bought versions?
Homemade rubs avoid anti-caking agents and excessive salt found in commercial blends. You control ingredient quality and freshness—especially important for spices like paprika and garlic powder which lose potency quickly. The custom ratios create balanced flavor impossible in mass-produced versions.
Getting Perfect Results Every Time
Great roast chicken starts with the right seasoning approach. Skip complicated science and focus on these proven fundamentals: proper timing, balanced ingredients, and thorough coverage. The simple rub formula above delivers restaurant-quality results with common pantry ingredients—no special equipment required. For best outcomes, prioritize the overnight dry-brine method and remember that consistent application matters more than exotic ingredients. Master these techniques and you'll never serve bland roast chicken again.


 浙公网安备
33010002000092号
浙公网安备
33010002000092号 浙B2-20120091-4