10 Hilariously Simple Tips to Cook Ribs in the Oven Like a Spice Pro
Welcome to the wonderful world of spice-infused rib cooking, where science meets flavor and your oven becomes your best friend. Today, we’re diving into how you can cook ribs in the oven with confidence, creativity, and a dash of spice wizardry. Whether you're a pro pitmaster or just trying not to burn your kitchen down, this guide is for you.
Why Bother Cooking Ribs in the Oven?
- No need to babysit a grill for hours.
- Predictable heat = perfect tenderness.
- Less mess = easier cleanup (especially if you live with roommates).
- Spices really get a chance to work their magic.
Preparation: The Secret Behind Flavorful Ribs
Rub It In (Literally)
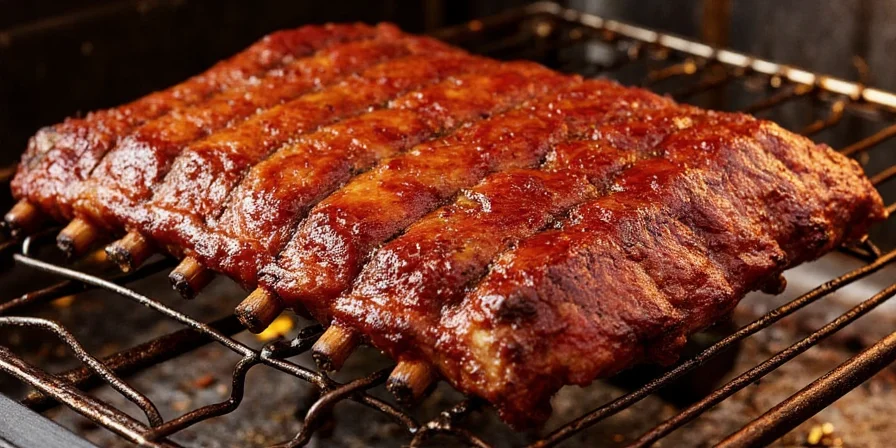
The foundation of any great oven-cooked rib starts with a killer dry rub. Think of it as your rib’s superhero costume—it needs to be bold, flavorful, and stick around through thick and thin (or meat and heat).
| Spice | Role |
|---|---|
| Paprika | Flavor base + color boost |
| Brown Sugar | Creates caramelization |
| Garlic Powder | Aromatic punch |
| Onion Powder | Depth of sweetness |
| Cumin | Smoky backbone |
| Cayenne | Optional kick |
Tender Loving Care (TLC): Letting the Rub Rest
After applying the rub, let your ribs rest in the fridge for at least 1 hour—ideally overnight. This gives the spices time to bond with the meat, like a slow-burning romance.
Step-by-Step Guide: How to Cook Ribs in the Oven
Step 1: Preheat and Prepare
- Set your oven to 275°F (135°C).
- Line a baking sheet or roasting pan with foil for easy cleanup.
- Place a wire rack on top of the pan if available (this helps air circulate and prevents soggy bottoms).
Step 2: Wrap and Bake
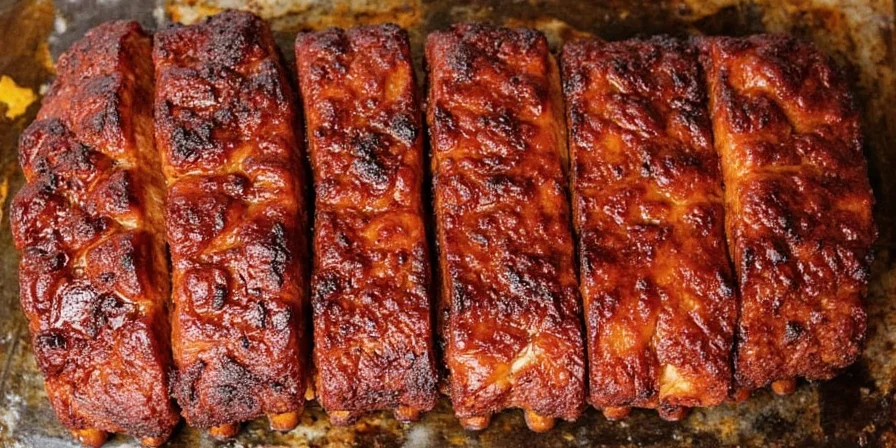
- Place the seasoned ribs bone-side down on the rack.
- Wrap tightly in foil—think burrito-style but less spicy… unless you want more spice.
- Bake for about 2.5 to 3 hours, depending on the size of your slab.
Step 3: Unwrap and Crisp
- Remove from foil, discard any liquid.
- Brush both sides generously with your favorite barbecue sauce.
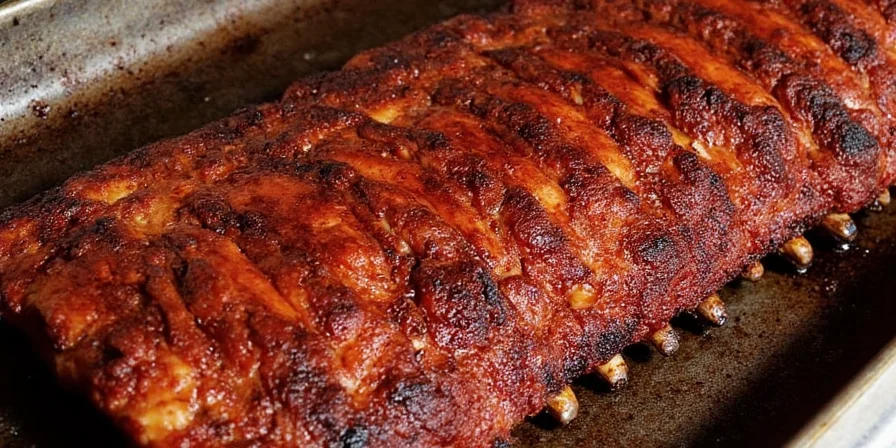
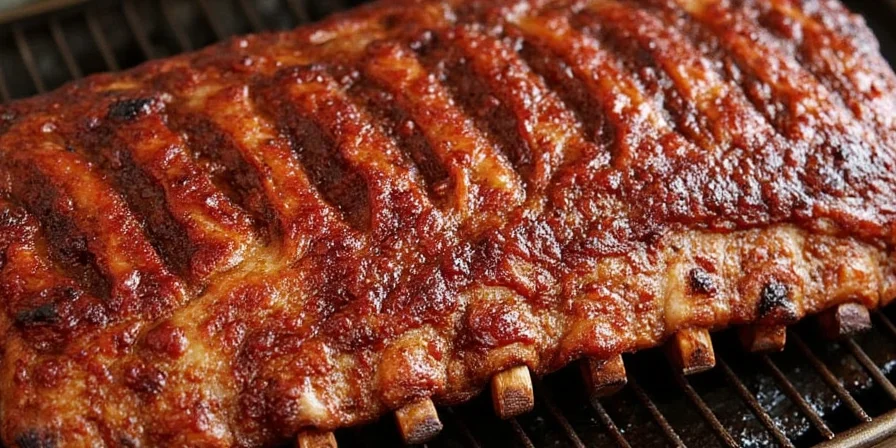
- Turn oven up to 400°F (200°C) and bake uncovered for another 10–15 minutes until glazy and slightly charred.

Step 4: Rest and Serve
- Let the ribs rest for 5–10 minutes so the juices redistribute. Trust us, they’ll taste better when they’ve had a little nap.
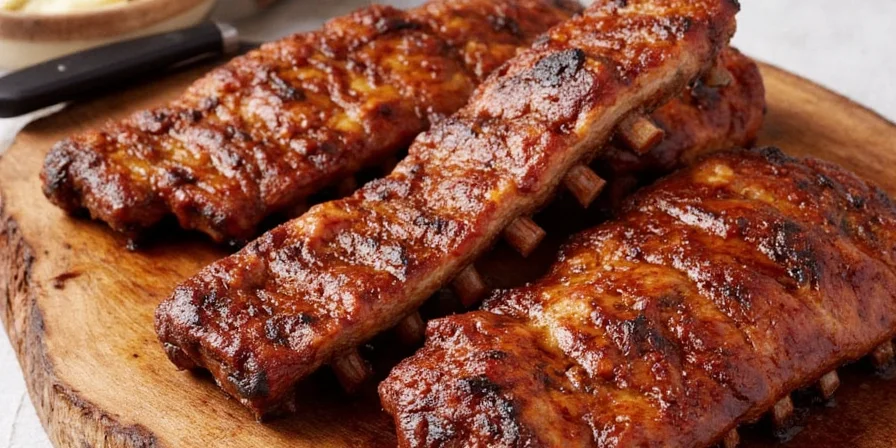
- Slice and serve with extra sauce, pickles, and your choice of sidekick (we recommend cornbread).
Pro Spicing Techniques: Level Up Your Rib Game
Use the Power of Layering Flavors
You don’t just slap on a rub and call it quits—you build layers. Here’s how:
- Vinegar-based mop sauce: Adds tang and moisture during baking.
- Smoke powder or liquid smoke: For that backyard BBQ feel without stepping outside.
- Finishing spice dust: Sprinkle chili flakes or smoked paprika after baking for a final pop.

Hot & Cold Smoking Options
If you’re feeling fancy, try cold smoking your ribs before baking or adding a few drops of hickory liquid smoke to your sauce.
Common Mistakes and How to Avoid Them
Mistake #1: Not Trimming the Membrane
That silver membrane on the back of the ribs? It doesn’t tenderize well. Use a butter knife or paper towel to peel it off before seasoning.
Mistake #2: Skipping the Foil Wrap
If you skip wrapping, you risk dry, chewy ribs. Foil creates a steaming effect that breaks down connective tissue and makes your bite fall-off-the-bone tender.
Mistake #3: Rushing the Rest
Just like people, ribs need rest. If you cut them too soon, all those juicy flavors run out like someone who overslept and forgot to set an alarm.
FAQs: Answering the Questions You Didn’t Know You Had
Q: Can I use a different temperature?
A: Sure! Lower temps (like 250°F) mean longer cook times but deeper flavor. Higher temps may dry things out.
Q: Do I have to wrap my ribs?
A: Wrapping (called the Texas Crutch) is optional, but highly recommended for maximum tenderness. If you skip it, rotate the ribs halfway through baking.
Q: What if I don’t have a wire rack?
A: No worries! Place the ribs directly on foil. Just know the bottom might get a bit soggy—kind of like socks after a rainstorm.
Visual Comparisons: To Wrap or Not to Wrap?
| Wrapped Ribs | Unwrapped Ribs |
|---|---|
| Moister texture | Drier texture |
| Softer bark | Firmer bark |
| Better heat penetration | Uneven cooking possible |
Summary: Spice & Everything Nice
Cooking ribs in the oven doesn’t have to be intimidating. With the right mix of spices, timing, and technique, you can whip up a meal that rivals your favorite BBQ joint—without breaking a sweat or setting off the smoke alarm.
Key Takeaways:
- Use a layered spice rub for deep flavor development.
- Wrap your ribs in foil for optimal tenderness.
- Brush on sauce last for that glossy finish.
- Don’t forget to let your ribs rest before slicing!
- Have fun experimenting with spice combinations!
Final Thoughts: Make It Yours
Every chef has their signature style. Some go heavy on the cumin, others love a hint of cinnamon. Don’t be afraid to tweak your rubs and techniques until it feels just right. After all, cooking ribs isn’t just about food—it’s about creating memories, one delicious bite at a time.
Need More Spice in Your Life?
Stick around for more spice adventures, rib wisdom, and occasional dad jokes. Because life’s too short for bland food—and even shorter without a good pun.
Conclusion
Cooking ribs in the oven isn’t just a shortcut—it’s a full-on flavor shortcut with benefits. By mastering your spice game, embracing the foil wrap, and giving your meat a little love, you’ll end up with ribs that make your taste buds throw confetti. So go ahead, grab that slab, and start spicing like a pro. Happy cooking!



 浙公网安备
33010002000092号
 浙B2-20120091-4