Stop Buying Store-Bought Chili Spice: Simple Homemade Blend Recipe
Looking for an easy homemade chili spice blend that actually works? This simple 5-ingredient recipe makes restaurant-quality seasoning in 10 minutes with common pantry items. No chemistry degree required—just follow these practical steps to create perfectly balanced chili spice every time.
Basic Homemade Chili Spice Blend (Makes 1 cup)
- 3 tbsp chili powder (mild)
- 2 tbsp cumin
- 1 tbsp garlic powder
- 1 tbsp onion powder
- 2 tsp paprika (smoked for depth)
- 1 tsp oregano
- 1 tsp salt
- 1/2 tsp cayenne (adjust to heat preference)
Directions: Mix all ingredients thoroughly. Store in airtight container. Use 2-3 tbsp per pound of meat.
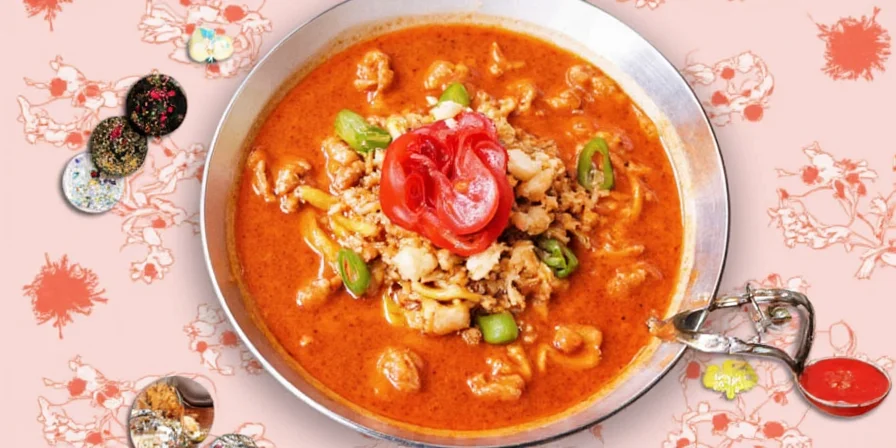
Why Your Homemade Blend Beats Store-Bought Every Time
Commercial chili seasonings often contain fillers and preservatives that dull flavor. When you make your own, you control exactly what goes in—no mystery ingredients, no excessive salt, and fresher spices that haven't lost potency. The secret isn't complicated science; it's using the right ratios of quality ingredients at peak freshness.
10 Practical Tips for Perfect Chili Spice (No PhD Needed)
Tip #1: Choose Peppers Based on Your Heat Preference
Not all chili powders are created equal. Match the heat level to your family's tolerance with this simple guide:
| Pepper Type | Best For | When to Use |
|---|---|---|
| Ancho (mild) | Families, weeknight meals | Base for most blends |
| Guajillo (medium) | Weekend cooking | When you want noticeable heat |
| Chipotle (smoky heat) | Tex-Mex dishes | For depth without extreme burn |
| Arbol (hot) | Experienced cooks | Add pinch for kick at the end |
Tip #2: Dry Roast Spices for Maximum Flavor (Easy Method)
Forget complicated equipment—just use your skillet! Heat spices over medium-low for 60-90 seconds until fragrant. This simple step doubles flavor intensity. Pro tip: Cool spices completely before grinding to preserve essential oils.
Tip #3: Salt Strategically for Better Flavor Distribution
Add salt during mixing, not at the end. Salt helps distribute flavors evenly throughout your blend. For best results, use fine sea salt that blends smoothly with other spices.
Tip #4: Balance Acidity with Pantry Staples
Tomato-based chili often tastes too sharp. Fix this by adding 1/2 tsp unsweetened cocoa powder per batch—it neutralizes acidity without making your chili sweet. No special equipment needed.
Tip #5: Create Umami Depth with Basic Alliums
Use 2 parts onion powder to 1 part garlic powder for balanced savory flavor. This ratio prevents the bitter aftertaste that can happen with too much garlic, giving you restaurant-quality depth.
Tip #6: Brighten Flavors with Citrus (Without Adding Liquid)
Rub a microplane across an orange or lime to add zest directly to your spice mix. Just 1/4 tsp per cup of blend lifts flavors without introducing moisture that reduces shelf life.

Tip #7: Get Smoky Flavor Without Liquid Smoke
Use smoked paprika instead of liquid smoke for natural, consistent smokiness. Just 1 tsp per batch creates authentic campfire flavor that store-bought blends can't match.
Tip #8: Keep Cumin From Burning During Cooking
Cumin burns easily. To prevent bitter flavors, mix it with other spices before adding to hot oil. This simple technique preserves its warm, earthy notes throughout cooking.

Tip #9: Store Properly for Maximum Freshness
Spice blends lose potency quickly. For best results:
- Use mason jars (not spice shakers) for storage
- Keep in a cool, dark place
- Replace after 4 months for peak flavor
| Storage Method | Flavor Lasts | Best For |
|---|---|---|
| Mason jar (pantry) | 4 months | Most home cooks |
| Spice shaker | 2 months | Daily use mixes |
| Vacuum sealed (freezer) | 1 year | Large batches |
Tip #10: Taste and Adjust Before Serving
Chili flavors develop as they cook. Before serving, taste and adjust:
- Too acidic? Add pinch of baking soda
- Too spicy? Stir in tablespoon of sour cream
- Needs depth? Add dash of Worcestershire sauce
Troubleshooting Common Problems
Problem: My chili tastes bitter
Solution: You likely burned the spices. Next time toast them on lower heat for less time. To fix an already-bitter batch, add 1 tsp honey and 1 tbsp tomato paste.
Problem: Flavor is flat and one-dimensional
Solution: You're missing the acid-sweet balance. Add 1/4 cup of beer or coffee for complexity, or 1 tsp cider vinegar at the end.
Problem: Heat comes on too strong
Solution: Use milder peppers next time and remember—seeds contain most heat. Remove seeds from fresh chilies before drying.
Customize for Your Family's Preferences
Make this blend work for YOUR kitchen:
- Mild version for kids: Use only ancho peppers, double the cumin
- Medium heat for family dinners: Add 1/2 tsp cayenne
- Spicy version for game day: Include chipotle and a pinch of arbol
Frequently Asked Questions
Can I make this without special equipment?
Absolutely! All you need is a bowl and whisk. For toasting, use your regular skillet. No spice grinder required—just buy pre-ground spices.
How can I adjust heat levels easily?
Control heat by adjusting cayenne amount: 1/4 tsp for mild, 1/2 tsp for medium, 1 tsp for hot. Remember—you can always add more heat, but you can't remove it!
Why does cocoa powder work in chili?
It's not for sweetness! Cocoa neutralizes acidity in tomatoes while adding rich depth. Use dark cocoa (70%+) for best results without noticeable chocolate flavor.
How long will my homemade blend last?
Stored properly in a mason jar away from light, it stays fresh for 4 months. After that, you'll notice reduced potency but it's still safe to use.
Can I substitute fresh spices for dried?
Fresh spices behave differently. For best results with this recipe, stick to dried—they concentrate flavor and blend more evenly in dry mixes.
Final Tips for Chili Spice Success
You don't need scientific knowledge to make great chili spice—just these simple techniques. Start with the basic recipe, then adjust based on your family's preferences. The key is using fresh ingredients and storing your blend properly. Within minutes, you'll have a custom seasoning that beats any store-bought version, with flavors tailored exactly to your taste.


 浙公网安备
33010002000092号
 浙B2-20120091-4